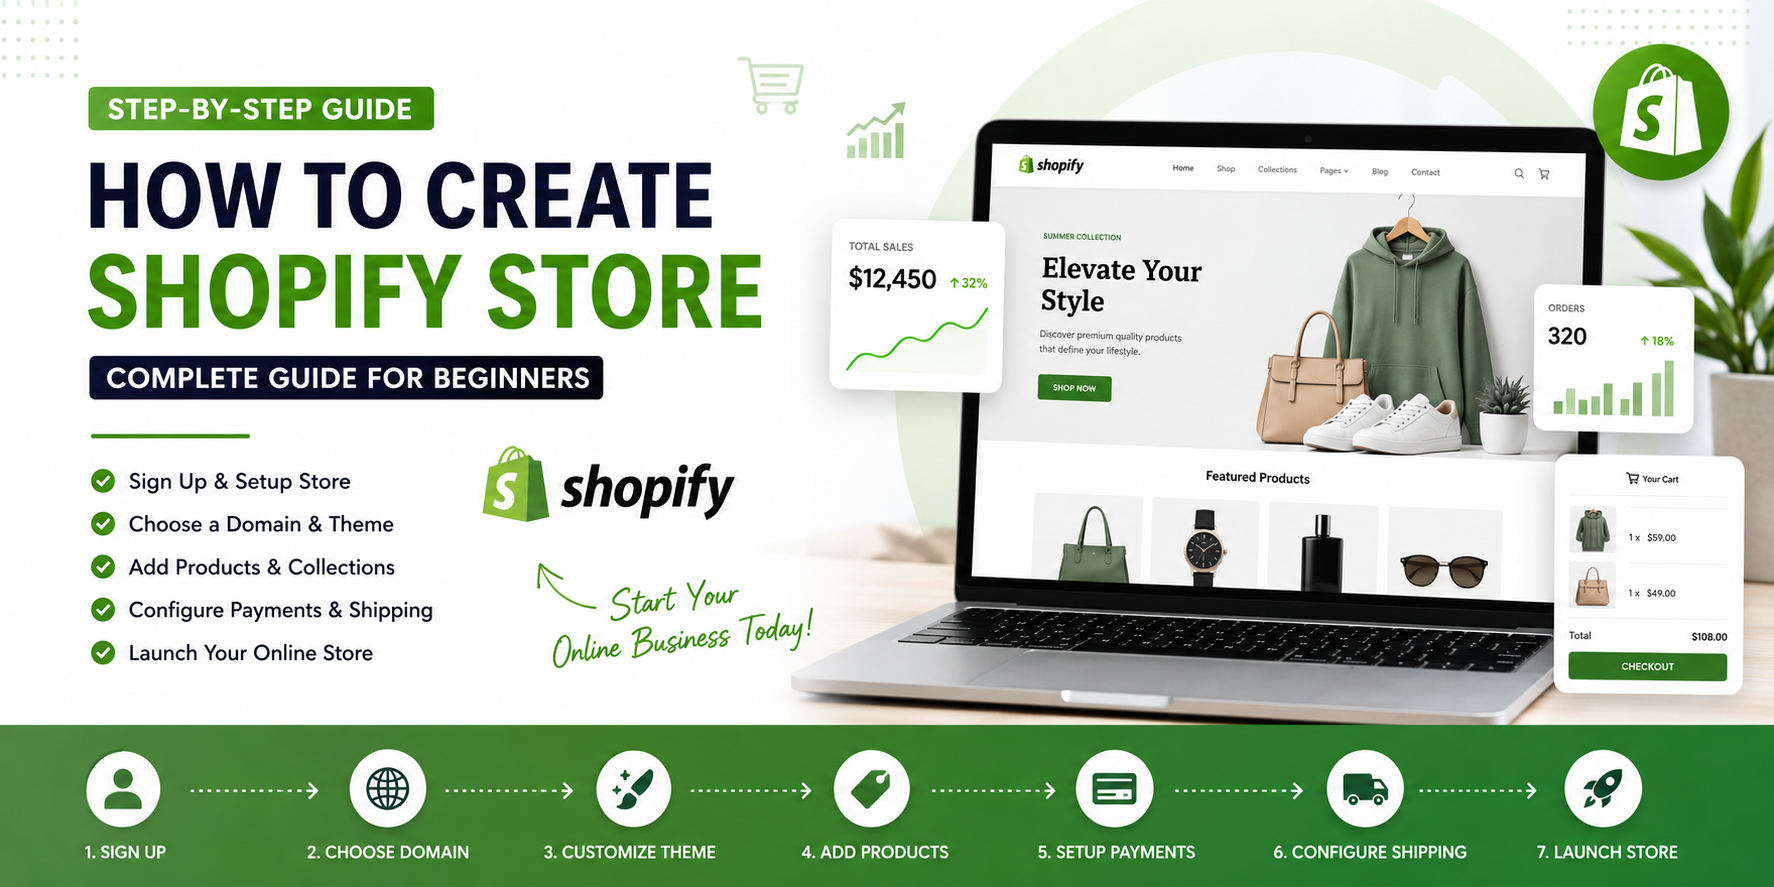
Starting an online store has never been easier. Shopify powers millions of eCommerce websites worldwide and provides everything you need to sell products online without coding knowledge.
Whether you want to sell fashion products, electronics, beauty items, digital products, or handmade goods, Shopify offers a complete solution to build and grow your online business.
In this detailed guide, you’ll learn exactly how to create a Shopify store from scratch and launch a professional online shop in 2026.
Why Choose Shopify?
Before creating your store, let’s understand why Shopify is one of the most popular eCommerce platforms.
Benefits of Shopify
✔ Beginner-Friendly Interface
✔ No Coding Required
✔ Secure Hosting Included
✔ Mobile Responsive Design
✔ SEO Friendly Structure
✔ Multiple Payment Gateways
✔ Thousands of Apps & Integrations
✔ Fast Loading Speed
✔ 24/7 Customer Support
✔ Scalable for Growing Businesses
Whether you’re a beginner or an experienced entrepreneur, Shopify provides all the tools needed to run a successful online business.
Step 1: Sign Up for Shopify
Visit Shopify’s official website and create your account.
Information Required:
- Email Address
- Password
- Store Name
After signing up, Shopify will generate a temporary store URL:
yourstorename.myshopify.com
Don’t worry—you can connect a custom domain later.
Step 2: Choose Your Business Type
Shopify will ask a few questions about your business.
Examples include:
- Clothing Store
- Electronics Store
- Beauty Products
- Furniture Store
- Jewelry Store
- Dropshipping Store
- Digital Products
- Print-On-Demand Business
Select the option that best matches your business.
Step 3: Set Up Basic Store Information
Navigate to:
Settings → Store Details
Add:
Store Information
- Store Name
- Email Address
- Business Address
- Phone Number
- Currency
- Time Zone
Accurate information helps customers trust your business.
Step 4: Purchase a Domain Name
A custom domain makes your store look professional.
Example
Instead of:
yourstore.myshopify.com
Use:
yourstore.com
Domain Best Practices
Choose a domain that is:
- Easy to remember
- Short and brandable
- Easy to spell
- Related to your niche
Examples:
- fashionhub.com
- gadgetworld.com
- luxeboutique.com
Connect Domain
Go to:
Settings → Domains
You can:
- Buy directly from Shopify
- Connect a domain from GoDaddy
- Connect a domain from Namecheap
Step 5: Select a Shopify Theme
The design of your store is one of the most important factors for conversion.
Navigate to:
Online Store → Themes
Free Themes
- Dawn
- Craft
- Sense
- Refresh
Premium Themes
Premium themes offer:
- Advanced customization
- Better product presentation
- More conversion features
- Premium support
When choosing a theme, look for:
- Mobile responsiveness
- Fast loading speed
- SEO optimization
- Conversion-focused layouts
Step 6: Customize Your Store Design
Click Customize Theme.
Customize:
Header
- Logo
- Navigation Menu
- Announcement Bar
Homepage
- Hero Banner
- Featured Products
- Collection List
- Testimonials
- Image Gallery
- Blog Section
Footer
- Contact Information
- Newsletter Signup
- Social Media Links
- Important Pages
Branding Elements
- Colors
- Typography
- Buttons
- Icons
Keep your design clean and professional.
Step 7: Create Product Collections
Collections help organize products.
Examples:
Fashion Store
- Men
- Women
- Shoes
- Accessories
Electronics Store
- Smartphones
- Laptops
- Gaming
- Accessories
Navigate to:
Products → Collections
Create collections before adding products.
Step 8: Add Products
Navigate to:
Products → Add Product
Product Information
Product Title
Use descriptive titles.
Example:
Premium Men's Cotton T-Shirt
Product Description
Include:
- Features
- Benefits
- Materials
- Specifications
Product Images
Upload:
- High-quality photos
- Multiple angles
- Lifestyle images
Pricing
Add:
- Selling Price
- Compare-at Price
- Cost Per Item
Inventory
Manage:
- SKU
- Stock Quantity
- Barcode
Shipping
Add:
- Weight
- Dimensions
Step 9: Configure Payment Methods
To accept payments, go to:
Settings → Payments
Popular options include:
Shopify Payments
- Credit Cards
- Debit Cards
PayPal
One of the most trusted payment methods worldwide.
Third-Party Gateways
- Stripe
- Razorpay
- PayU
- Authorize.net
Enable at least two payment methods.
Step 10: Configure Shipping Settings
Navigate to:
Settings → Shipping and Delivery
Create shipping zones:
Domestic Shipping
Example:
- India
- USA
- UK
International Shipping
Sell globally by creating international rates.
Shipping Options
- Free Shipping
- Flat Rate Shipping
- Weight-Based Shipping
- Carrier Calculated Shipping
Free shipping often increases conversions.
Step 11: Create Essential Pages
Every Shopify store should have these pages.
About Us
Tell your story and mission.
Contact Us
Provide:
- Phone Number
- Contact Form
Privacy Policy
Required for legal compliance.
Refund Policy
Explain return procedures.
Shipping Policy
Clarify delivery expectations.
Terms and Conditions
Protect your business legally.
Step 12: Install Essential Shopify Apps
Apps can improve functionality and conversions.
Recommended categories:
Marketing
- Email Marketing
- SMS Marketing
SEO
- SEO Optimization Tools
- Image Optimization
Reviews
- Product Reviews
- Customer Testimonials
Sales
- Upsell Apps
- Bundle Apps
Customer Support
- Live Chat
- Help Desk
Install only necessary apps to maintain speed.
Step 13: Optimize Your Shopify Store for SEO
SEO helps customers find your store on Google.
Optimize Product Titles
Use keywords naturally.
Example:
Organic Cotton T-Shirt for Men
Optimize Meta Titles
Keep under 60 characters.
Optimize Meta Descriptions
Keep under 160 characters.
Use SEO-Friendly URLs
Example:
/products/cotton-tshirt-men
Add Alt Text
Describe every image.
Create Blog Content
Publish helpful articles related to your niche.
Step 14: Set Up Analytics
Track your store’s performance.
Shopify Analytics
Monitor:
- Sales
- Visitors
- Conversion Rate
Google Analytics
Track customer behavior.
Google Search Console
Monitor:
- Search Rankings
- Indexing
- SEO Performance
Step 15: Test Your Store Before Launch
Before going live:
Check Mobile Responsiveness
Most visitors come from mobile devices.
Test Checkout
Place a test order.
Verify Payments
Ensure transactions work correctly.
Test Shipping Rates
Confirm accurate calculations.
Review Content
Check for:
- Spelling errors
- Broken links
- Missing images
Step 16: Launch Your Shopify Store
Once everything is ready:
- Select a Shopify Plan
- Remove Password Protection
- Connect Domain
- Enable Payments
- Publish Products
Congratulations! Your Shopify store is now live.
How Much Does It Cost to Start a Shopify Store?
Typical startup costs:
| Item | Estimated Cost |
|---|---|
| Shopify Plan | $29-$79/month |
| Domain Name | $10-$20/year |
| Premium Theme | $0-$350 |
| Apps | $0-$100/month |
| Marketing | Variable |
You can start with less than $100.
Tips for Growing Your Shopify Store
Use Social Media Marketing
Promote products on:
- TikTok
Start a Blog
Publish valuable content regularly.
Build an Email List
Collect emails from day one.
Run Google Ads
Target buyers actively searching for products.
Focus on Customer Experience
Happy customers become repeat customers.
Final Thoughts
Creating a Shopify store in 2026 is easier than ever. By choosing the right theme, adding quality products, optimizing for SEO, and implementing effective marketing strategies, you can build a profitable online business.
Success doesn’t happen overnight, but with consistency, quality products, and proper marketing, your Shopify store can generate sales and grow into a successful brand.
Start today, launch your store, and begin your eCommerce journey with confidence.